The marking of parts is critical in the aerospace industry but marking large, expensive aero-engine components can, at times, be difficult and time consuming. The added pressure to get the mark right first time and avoid costly re-work can also add to the time taken. At Pryor we have a range of equipment, specifically designed to handle large aerospace components, speed up the process and ensure that the data is correct, to specification, and that the whole process is repeatable time after time.
Overview
For decades, Pryor have been the industry leader in marking and verification systems for the aerospace industry. Our part marking equipment, traceability software, expertise in vision systems, and over 50 years
Aerospace Marking Specifications
Working with so many companies across the aerospace industry for so long has allowed us to become experts on the various marking specifications. We have a number of resources available for you to use and we are happy to talk to you about aerospace marking specifications and how they need to be implemented.
Please follow the links below:
Please visit Pryor’s Specification Guides for further information
Marking & Verification Station
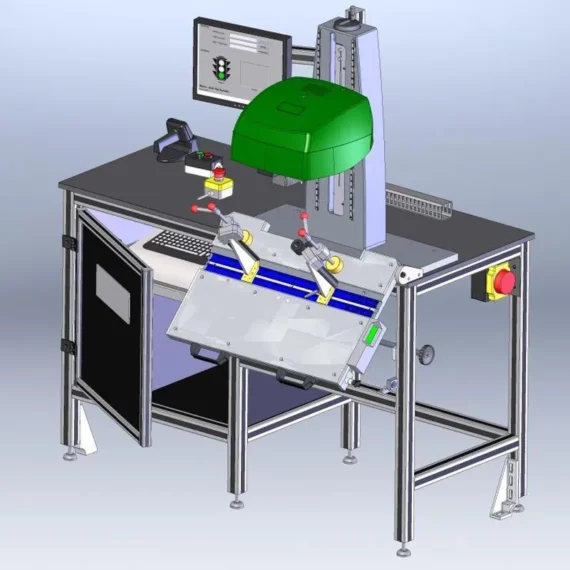
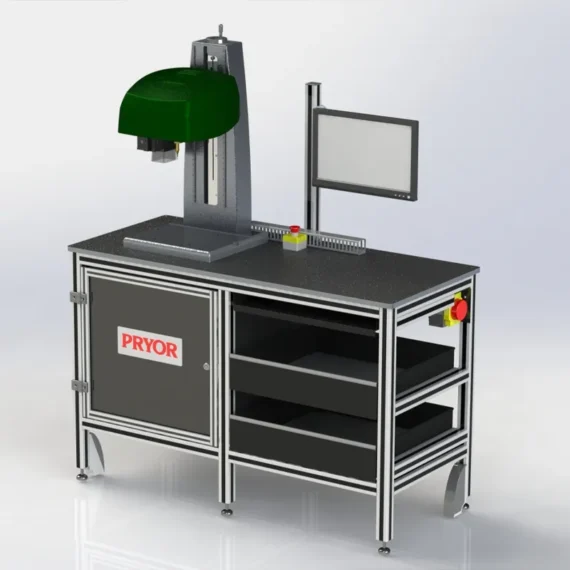
The Marking and Verification Station is an all-in-one solution, enabling you to identify a range of different components with high quality marks that comply with predetermined specifications.
As standard, this system can set to match the requirements of numerous international standards, including aerospace standards: US Department of Defence (DOD) UID standards, Airline industry’s (ATA, A4A) Spec 2000, AIM-DPM (Automatic Identification and Mobility association’s standard on Direct Part Marking), SAE International’s marking standard AS9132, JES131 and RRES90003.
Integrating the verification camera into the marking machine ensures that the marking and verification process takes place at the time the mark is applied, this means that any quality escapes are captured before they progress down the manufacturing value stream.
The Marking and Verification Station can mark a wide variety of parts as a range of additional accessories are available for this machine, including a Circumferential Marking Axis, a Magnetic Fixture, a T-slotted Table and Label Marking accessories. For marking large circular parts, the system is also available with an adjustable tilting table.
Multi-axis Marking Machine for Aerospace
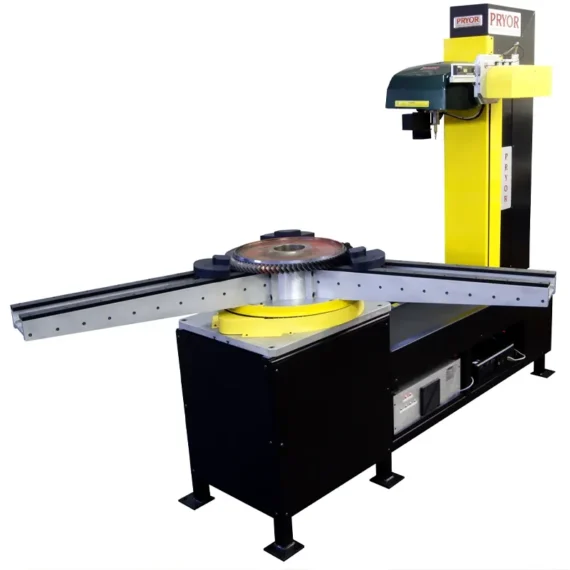
The pioneering Multi-axis Marking Station is a marking and verification machine. This dot-peen marking and machine vision system is designed to mark and verify large, cylindrical components such as aerospace turbine housings.
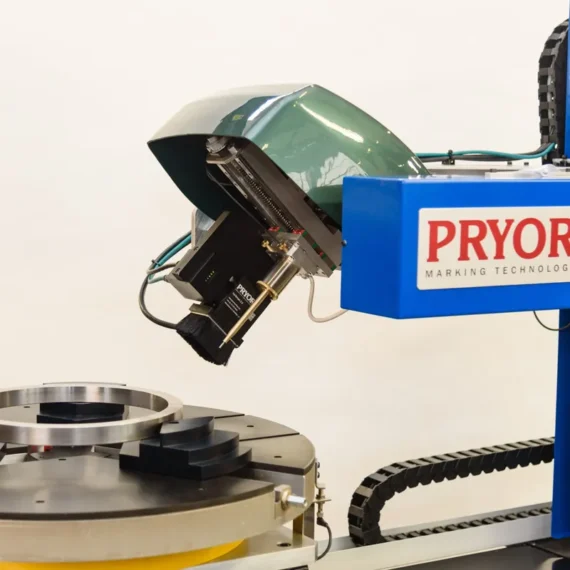
The dot peen marking head has a number of different marking window size options depending on your requirements. The marking head has x- and y-axes that move the stylus within the marking window and is mounted on a z-axis column that can either be manually adjusted or motorised. The z-axis column positions the marking head at the optimal distance from the component to be marked. The state-of-the-art ‘autosense’ feature automatically positions the stylus at the optimal distance from the component at the beginning of each marking operation, ensuring repeatability and consistency of the mark.
The marking head also houses a machine vision camera with an integrated light source. The camera is provided with a shroud to control the lighting conditions and minimise the effects of any variations in ambient lighting. This machine vision has the ability to verify the quality of the marked codes against international marking standards, including: AS9132, JES131, AIM-DPM-Guideline, MIL-STD-130, ISO15434 and ISO16022. It also allows the operator to read and capture data from the marked component; critical for data-driven manufacturing and process control, allowing measurability and eliminating quality defects. The machine vision camera also enables the pioneering automated component alignment capability. This determines the correct position of the mark on the component, automatically rotating the component to the correct location using a “learnt” reference feature.
The component is rotated on a motor driven rotating table which forms the basis of the fixture and allows controlled rotation of heavy parts. The rotating table is available in various dimensions to fit the part being marked. The marking head is mounted on a programmable motorised horizontal axis which alters the proximity of the part to the marking head. It also allows for very large parts to be marked by the machine.
Robotic Marking Machine for Aerospace
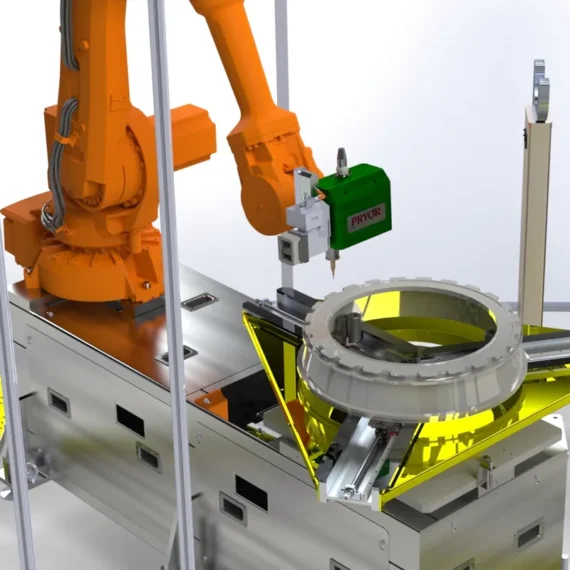
Introducing a robot into a marking and verification solutions provides the ultimate flexibility and automation. Our Robotic Marking and Verification Station uses the robot in conjunction with a customisable rotating table to enable a mark to be applied on almost any surface.
The dot peen marking head is mounted directly to the robot and the X-Y movement is used to apply the mark, once the marking head has been correctly positioned.
Controlling and positioning the robot for the marking cycle can done with a standard marking layout in our traceability software but we also have the option to introduce a ‘feature find and offset’ function to ensure absolute accuracy with regard to positioning the mark.
The integrated vision system also provides read, validation, and verification of the applied mark to make sure that you are adhering to the relevant specifications
“Since the start of 2013, robotic marking systems have become the company’s expertise and in 2014 (*and 2021) they were awarded the prestigious industry prize for innovation for their work with a major automotive player in developing a turnkey robotic VIN cell.”
Process, Engineering & Control Magazine
